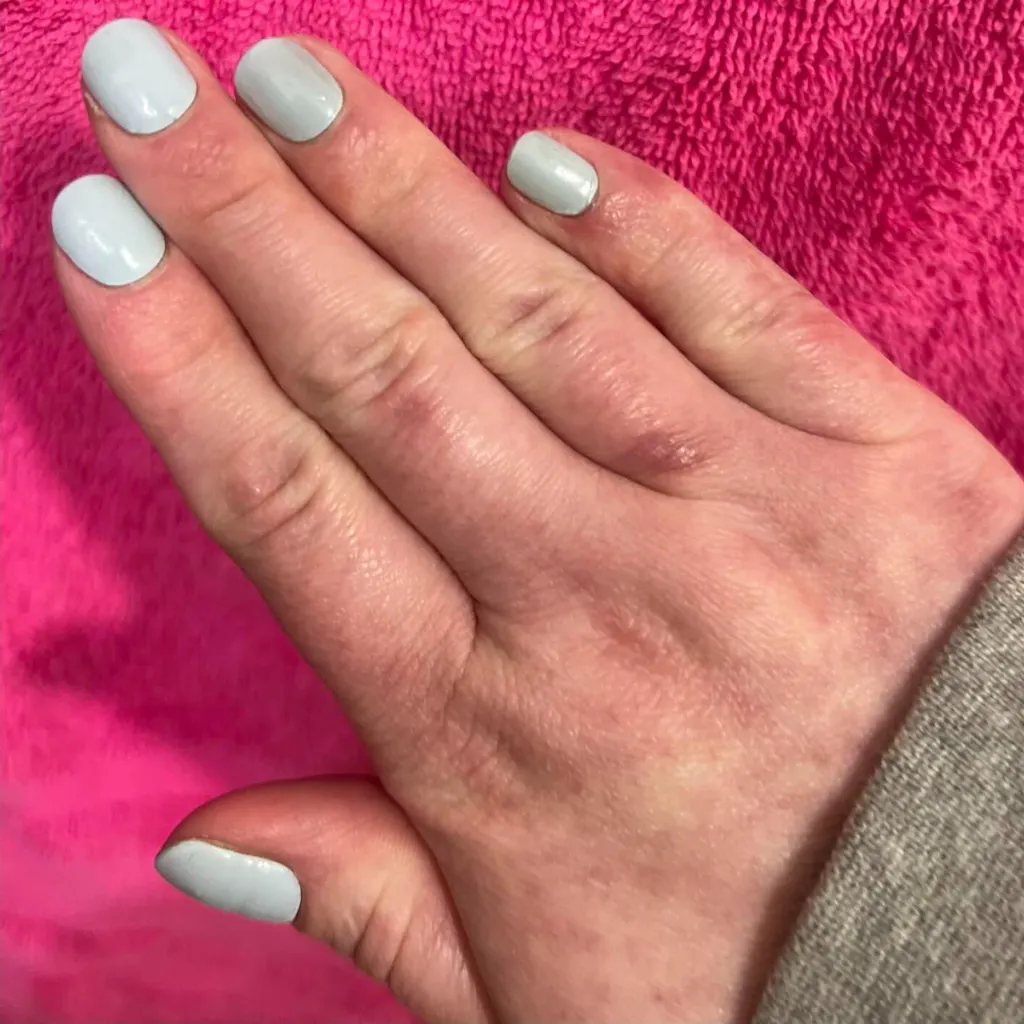
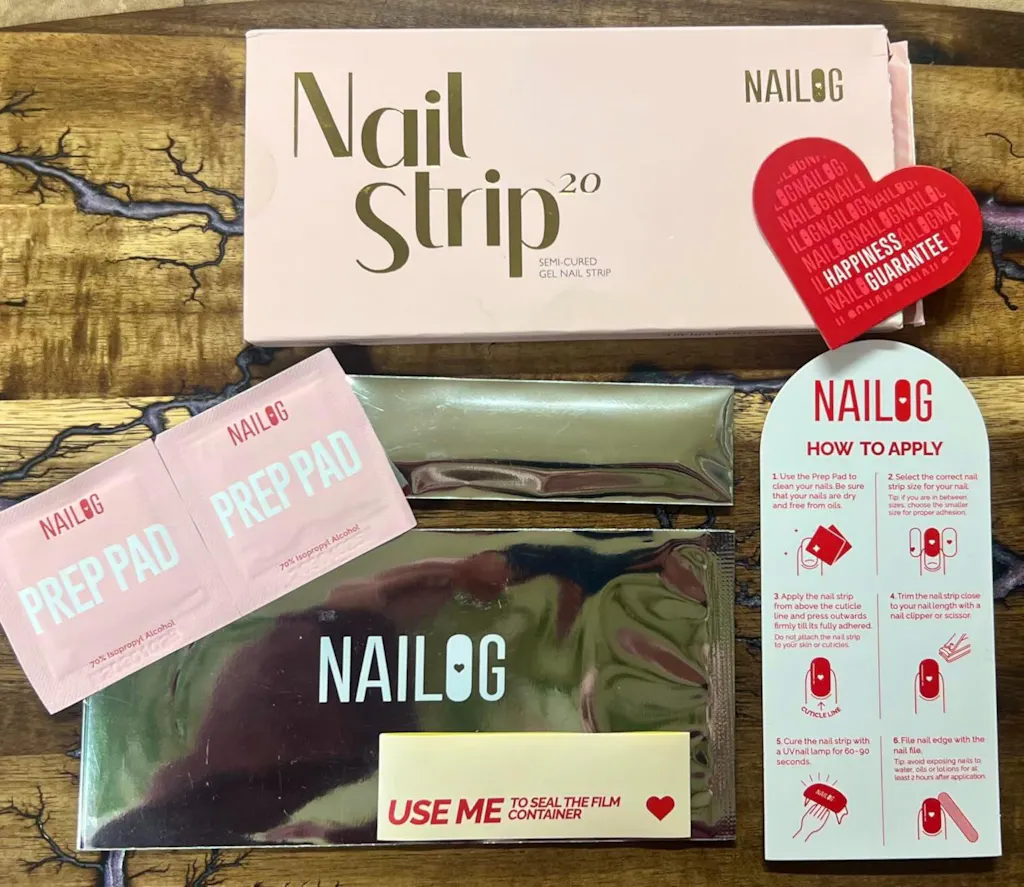
The NailOG semi-cured gel nails have become a holy grail item in my beauty lineup. I love the look of painted nails and frequently buy polish, but I rarely actually paint my nails. When I do, my left hand is usually a disaster, I wake up with crease lines, or they chip after doing dishes. These gel strips have solved all that while still giving a true salon-gel look.Included in the NailOG kit are 20 baby blue gel nail strips, a file, cuticle pusher, alcohol wipes, and instructions. The only tool not included is a UV light. Fortunately, I had one at home from a teeth-whitening kit, and it worked perfectly. I would NOT recommend trying to apply these without a UV light. The light tightens, forms, and secures the gel to the nail. You can actually feel it curing!As a first-time user, application took about 20 minutes, plus 5 minutes to cure. I applied them to my natural nails and found they’re long enough to cut in half lengthwise, which essentially doubles the use.What worked best for me:- Trim, file, and push back cuticles (using the tools provided)- Clean nails with the alcohol wipe- Choose the slightly wider strip if you’re between sizes- Cut strips in half lengthwise Line up one side of the nail fold first, then adjust toward the cuticle for the closest fit. Since they’re only partially cured, you can press and shape them snugly along the skin before curing- File the excess from the tips- Cure with a UV lightThese lasted three full weeks before I removed them for looking a little worn. They survived hand-washing dishes on many occasions and normal day-to-day tasks like a champ. None popped off, there was no lifting at the edges, and no catching hair or pulling out ponytails. These nails are easy to apply at home. The process is quick, there’s no mess, you can get creative with colors and designs, they’re affordable, and you get at least two full sets of wear. Just don’t forget the UV light, it’s essential!